Basic Client Maintenance
Working with Client Records
To access a client record, click the Search Clients menu item. Scroll or search for the required client, then left click with the mouse to select it. The client window will appear.
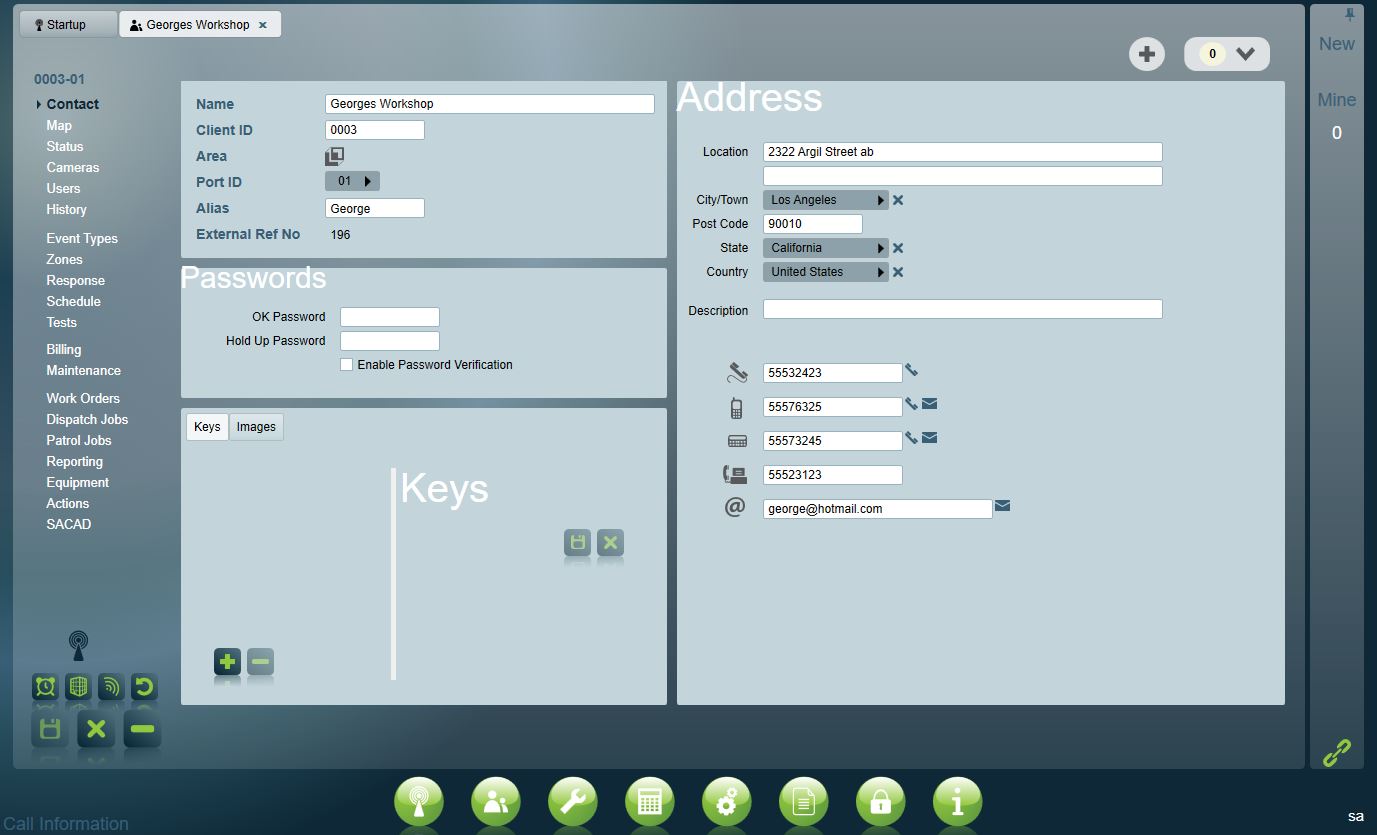
The tab system on the left enables easy switching between different areas of the client record.
Changing a Client Record
To change a client record, select the client from the Search Clients pop up and edit the record. Multiple tabs and multiple clients can be edited at once - there is no need to save after each change. The icon in the top tab bar will change to orange when there are unsaved changes to the record.

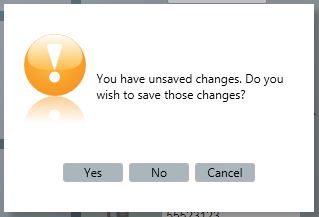
If you attempt to close a record without saving, this warning pop-up will appear:
 To save changes to a record, click the large save button at the bottom left of the client window.
Adding New Client Records

To add a new client record, click the Search Clients menu item then the Add Client button on the Search Clients pop-up.
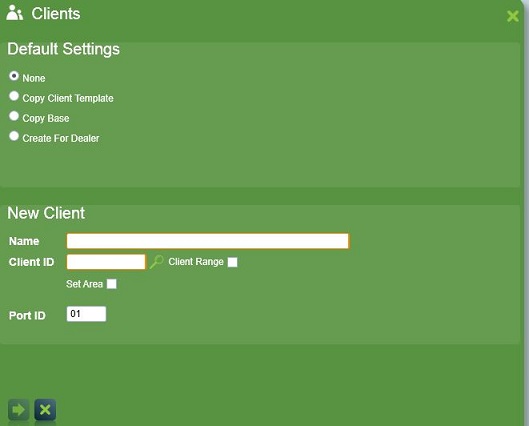
The New Client window will appear. Fill in the new clients details.
To create a client - select the None radio button, this will create a new client without any information entered.
To use a template - select the Copy Client Template radio button and select a Client Template from the dropdown menu. This will create a client with all your previously selected information already entered.
The Default template setting for new clients can be selected under the system wide settings: System settings > System Wide Settings > General Client Settings Tab > New Client Template
To create a client from base account - select the Copy Base radio button and enter the Client ID and Port ID of the Base Account you would like to copy with, the new client will be automatically linked to the base account if the base account with the combination of Client ID and Port ID found.(see Partitioned Clients for more information)
To create a new client for a Dealer - select the Create For Dealer (requires Dealer Features module) radio button then select a dealer name from Dealer selector and select a Client Template from the dropdown menu, then fill in the new client details.
By default, you can create a client for any dealer that has been give either IDA access or ICA access. If your dealers have been granted both IDA and ICA access then it is recommended that you change your Dealer Filter system wide setting to either IDA Only or ICA Only to prevent duplication. The Client template selector will apply operator filtering using the dealer's client access rights to the available templates list. For IDA dealers client access rights are always granted by Client Grouping - the template must be in at least one of the client groups accessable to the dealer. ICA dealers can optionally be given client access rights by client assignment - the dealer must be assigned to the template.
If you set a Client ID range in Operator Preferences for the selected dealer, then you must select the next free available client number from this range(operators with Edit Client ID rights may override this restriction).
Create for dealer is available only if the Dealer Features or IDA module is registered.
Entry boxes with an orange border must be completed before continuing. Client ID and name along with the relevant client template is all that is required to begin monitoring on a particular account. All other details can be filled in later.
If creating a new client with operator restrictions, the client is automatically assigned to the operators site grouping. If there are multiple site groupings assigned to the operator, then the first grouping is assigned.
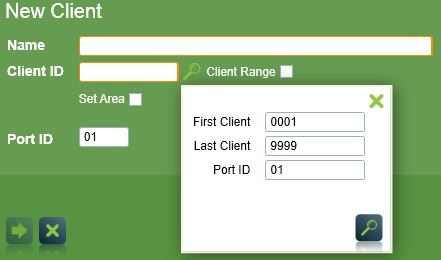
To use the next available client number, click the search icon to the right of the Client ID Textbox.
To add area accounts, click the Set Area checkbox, and enter the areas required. If you do not choose an area, a Base account will be created.

Click the Next button at the bottom left of the screen. This will create the new client. The main client window and the list of other tabs will appear. Continue to fill in the rest of the client information. Save the client information before exiting.
Client ID, Name, and the relevant client template selected on the Events Types tab is all that is required to begin monitoring on a particular account. All other details can be filled in later.
Deleting a Client
To delete a client, select the client to delete by clicking on them in the Search Clients pop-up, or use the Search field to find them. Click the large Delete button on the bottom left Client window or use Delete on the keyboard.

To Prevent the accidental deletion of a client , the delete button is shown on the contact tab only.
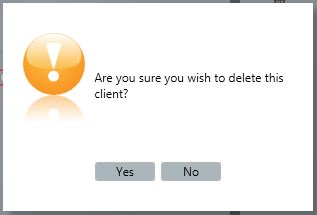
You will be asked if you wish to delete the client log associated with this account, and another warning asking if you are sure you wish to proceed.
The Delete button can also be removed for operators you do not wish to have access through the security settings. See the security section for more information.
There is a System Setting which allows you to backup the client file on deletion, Backup Client on Delete. If enabled, Patriot will export the client file to xml and store in the DeletedClient folder located in the Data Service installation directory. If required the deleted file can be merged back in to Patriot using the Import Tool.
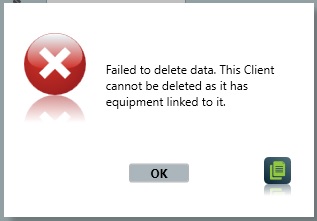
When a Client has equipment linked to them, the client cannot be deleted. This preventitive setting can be disabled in the System Wide Settings / General Client Settings.
Copying a Client Record
To copy a client record:
- Click the Search Clients menu item
- Click the New Client button
- Click the Copy Client Template radio button
- Click the Client Template Selector - the Copy Client pop up will appear
- Make sure the Templates check box is Unchecked so you see a list of existing clients.
- Double click the client you wish to copy - it will appear in the selector once the pop up closes.
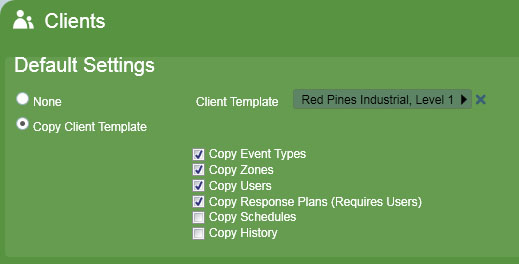
The clients Types, Zones, Users, and Signal History can also be optionally copied at the same time. When the client record window appears change the client number, name, alias and any other details for the new client being created.
Adding multiple Clients or Areas
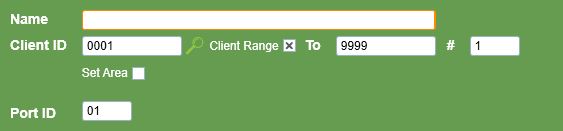
You can insert multiple clients at once by clicking the Client Range checkbox. You need to enter both the Client number range, and how many clients to add. In the screenshot above, it will find the next 2 available client numbers in the range 1500 to 1600.
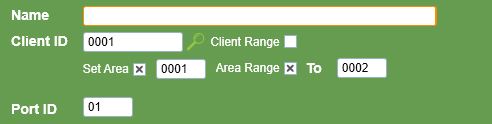
Similarly, you can insert a range of areas that use the same Client ID. Click the Area Range checkbox and enter the range of area numbers to use.
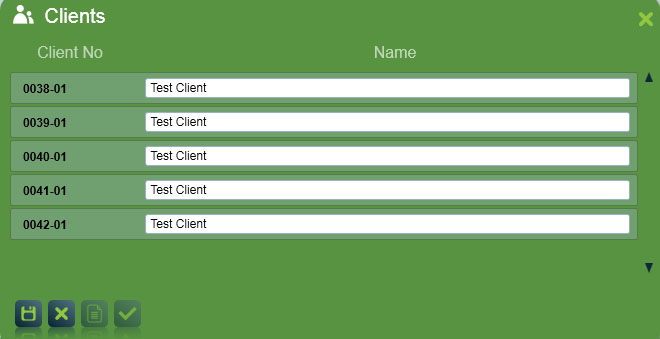
On the next step, you will be shown a list of available client numbers that were found.
Edit the names of the clients to be inserted, then click the Save button to create them.
If you click on the Cancel button, no clients will be added.
Now you can click the Report button to generate a list of inserted clients, or click the tick button to return to the client search.