Work Orders
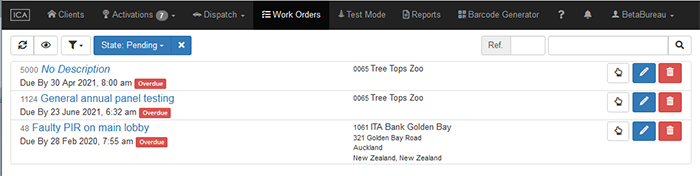
Work Orders can be accessed via the "Work Orders" tab in the Client window, or alternatively, selecting Work Orders from Maintenance menu > Clients > Work Orders opens the Work Orders window with all the outstanding work orders and their detail displayed.
Work Order Tab
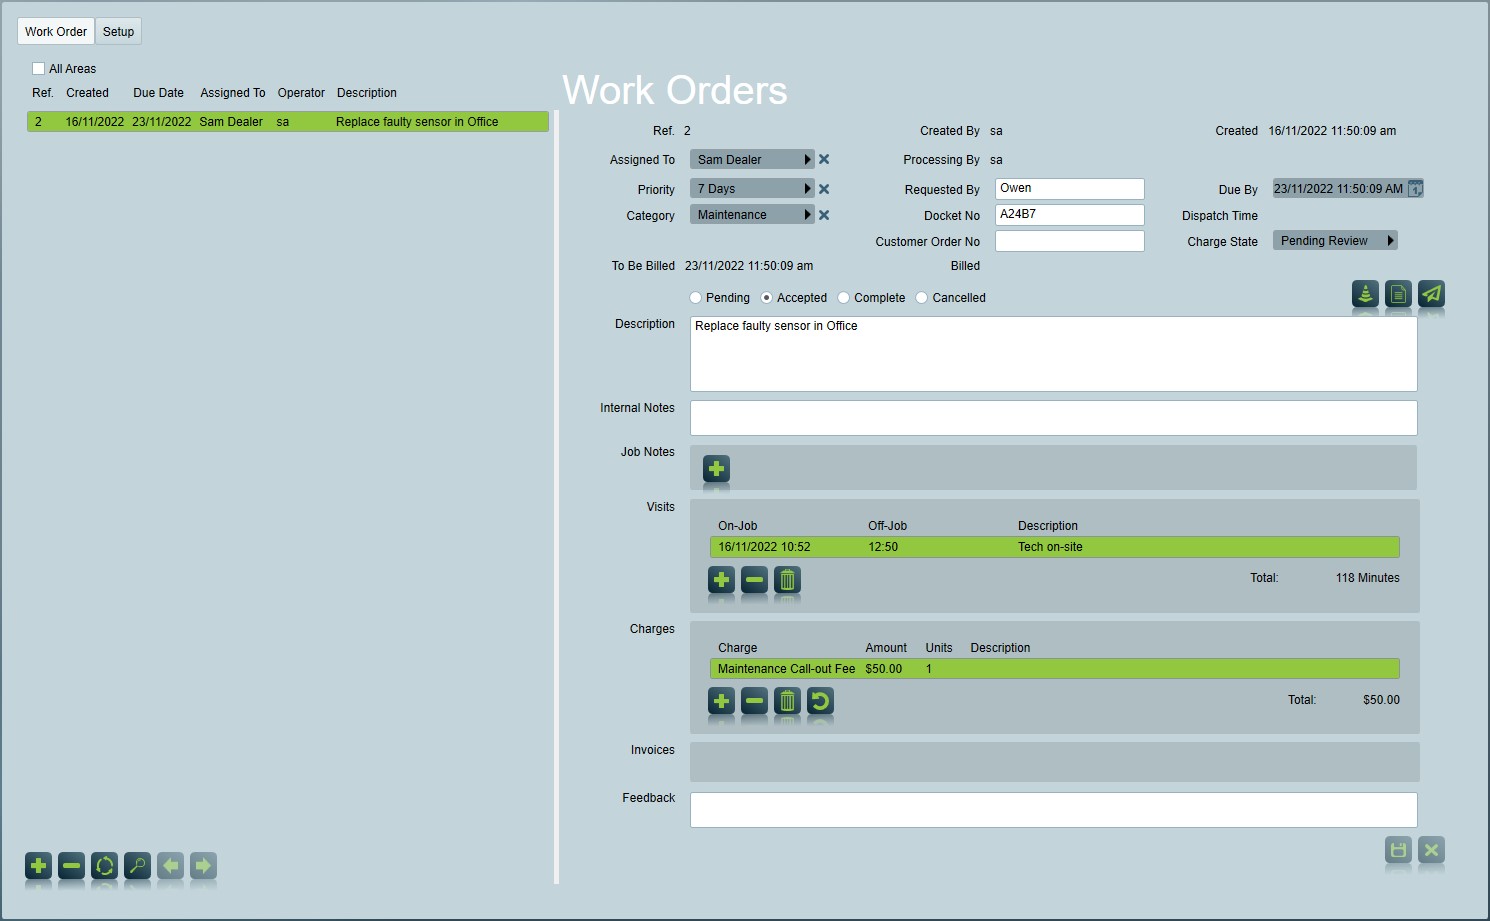
The detail of work orders can be found in the Work Order tab window.
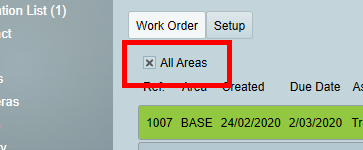
All Areas - this button will display work order in all areas of the client, instead of just the current area
 Search - Search work orders matching the selected filter, including the work order's status, ownership, priority, category, docket number, reference number, dispatch status or billing status.
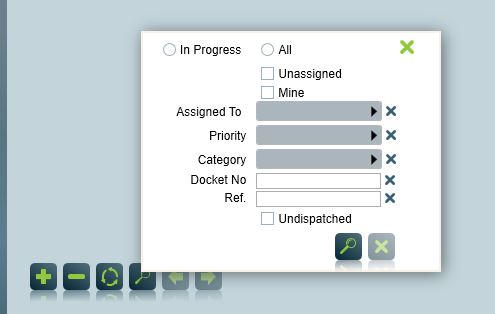
To add a new work order, click the Insert button.

You can fill in the following details to the work order.
-
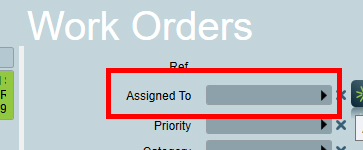
Assign To:
Select the Technician, User or Dealer/Bureau to assign the Work Order to.
Use the Select button to find the Technician or User. The default User filter and Site filter make finding the associated Technician easy.
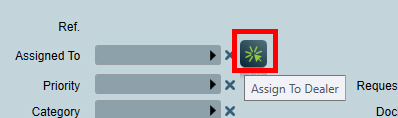
Or use the Auto Assign button to automatically assign the Dealer/Bureau associated with the account.
-
Select a Priority and Category. The options for Work Order Priority and Category are defined by your control room in the Work Order Priority and Work Order Category options.
-
Enter the Requested By name of the person requesting the work.
-
Enter the Docket No for the work order. The Docket No can be searched for to find the Work Order at a later date.
-
Enter the Customer No provided by the customer for the work order.
-
Select a Work Due By date for when this work order should be complete(The default Work Due By days can be changed in System Settings -> General Client Settings -> Work Orders Settings.)
-
Select a To Be Billed date for when this work order should be billed(The default Billing Due days can be changed in System Settings -> General Client Settings -> Work Orders Settings).
-
In the details section, enter a Description of the work required.
The Charge state and other billing related fields are detailed further below.
 Test Mode - Display a list of test modes linked to this work order.
 Report - Print, preview or email the new work order. The Dispatch Time will not be updated.
You can also choose to print the client Work Order Report by selecting the client Reporting tab and use corresponding button.
 Dispatch - Send the new work order to the assigned user via email. The Dispatch Time will be updated.
Once you have Dispatched the work order the Dispatch Time will appear. The Dispatch time shows the time that the dispatch has been sent to the assigned user. After that, the dispatch time can be changed manually.
In Progress/Accepted/Complete/Cancelled - Select if the current work order is "In Progress", "Accepted", "Complete" or "Cancelled".
After a work order is set to "complete", the work order will be removed from the list of work orders on the left. To access it again, select "all" in the search function and click "search", this will display all work orders
Internal Notes - Notes that will only displayed to the operators and will not be sent to the assigned user.
Work Order Notes - Notes that will be displayed to the operators as well as to the assigned user.
Work Order Job Notes - Notes that are normally added by the Technician.
Feedback - Feedback on the work order.
Work Order Billing
A work order billing run can be generated to produce invoices for chargeable work orders. This is covered by the billing support module. One off charges that need to be applied to a client are best handled by inserting a work order and assigning a charge to the work order.
Billing fields available on a work order include:
Customer - Billing Customer who will be invoiced for this work order.
Charge State - The review state of the work order. Can be used to allow manual review of work orders before they are invoiced. The Default Work Order Charge State option in System Wide Settings sets the default status for new work orders.
Invoices - A list of existing invoices for this work order. Selecting an invoice will show the invoice details in Batch Runs
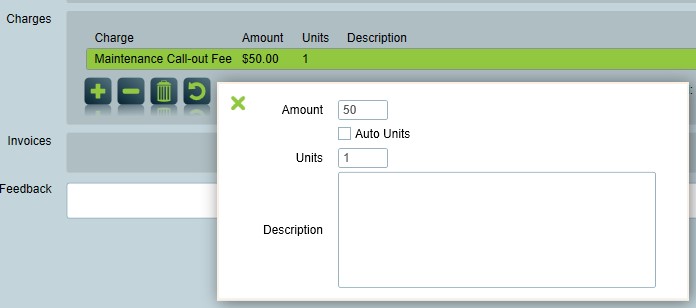
Charges - Charges can be assigned to a work order under Selected Charges by using Add and Insert buttons. Double click on assigned charges to set Amount, Units and Description. Charges can be configured through Master Charges. Charges which use the Interval Charge mode will have an additional Auto Units option, ticked by default. While enabled, the Units will automatically update based on the job visits and selected charge settings. The option can be disabled to manually enter the units for the charge if required.
 Re-calculate Charges - Removes all existing charges and re-applies automatic charge rules defined in Master Charges
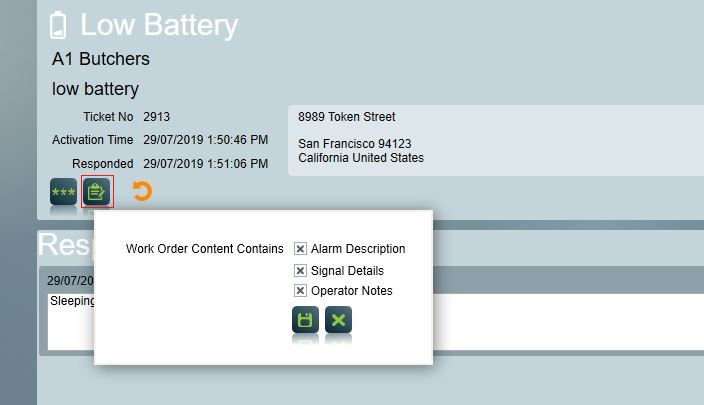
Raised Work Order from Activation
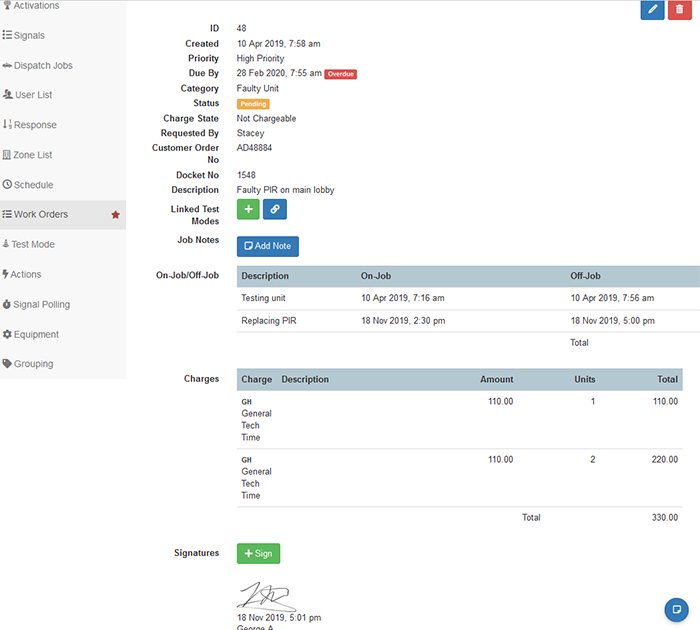
Work Orders can also be raised from the Activation Report Window when attending to an alarm, by clicking the ![]() icon. By ticking Alarm Description, Signal Details and Operator Notes, those information will be added to the work order's "Description" field.
icon. By ticking Alarm Description, Signal Details and Operator Notes, those information will be added to the work order's "Description" field.
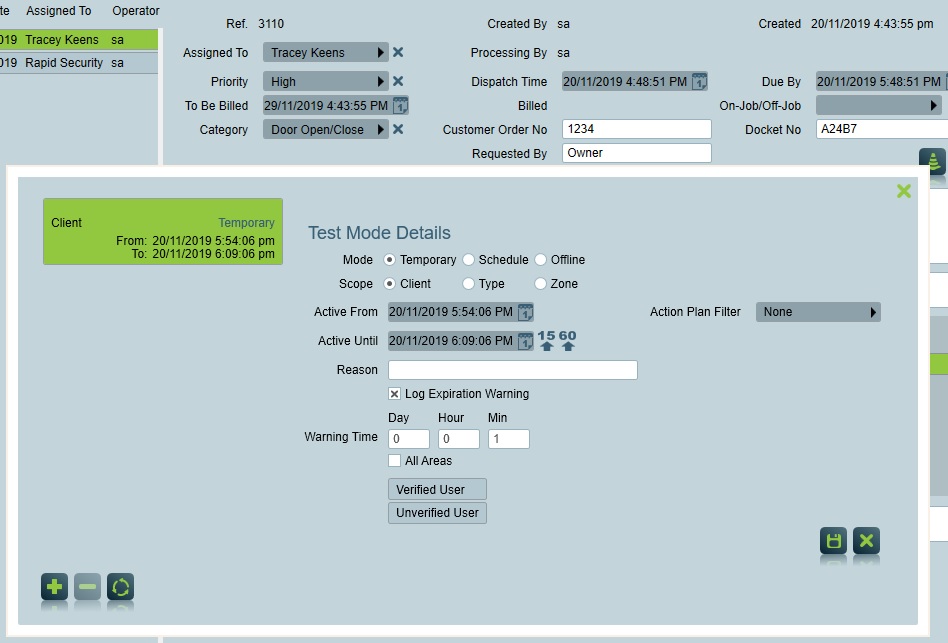
Link Work Order with Test Modes
Work Orders can be linked to Test Modes. When you complete a Work Order linked with test modes you will have a chance to remove the linked test modes.
You can create, view, modify or delete linked test modes by clicking on the Test Mode button. It will pop out a form similar with standard test mode form. The operations on this form is the same with the standard Test Modes form in Test Tab.
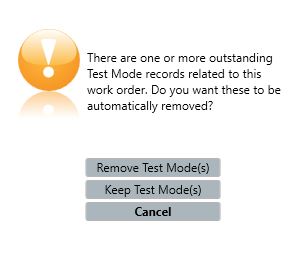
When you complete a Work Order with outstanding test modes linked, you will be asked to remove all the linked test modes or keep them.
ICA Work Order Response
Technician's (or other types of users) can respond to their assigned work orders remotely through a web browser or the Plink app.
Requirements
-
An ICA module must be registered
-
You will need to install ICA. See ICA Installation
-
The technician needs to be granted Work Order Response access via their assigned ICA Security Group(s)
Main program > Maintenance Menu > Clients Menu > Work Orders > Work Order Response
ICA Work Order Response Page