Dispatching a Patrol Job Tutorial
Overview
This tutorial explains how to dispatch a job to a patrol, follow the dispatch job progress and review patrol jobs after they are completed.
Index
Viewing the Dispatch Job Details
Completing the Activation and reviewing Jobs
Dispatching a Patrol Job
Here are some example of how a Patrol or Patrol Select User can look in a Response List.
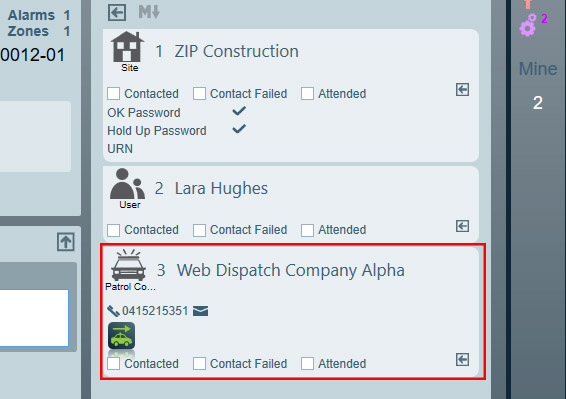
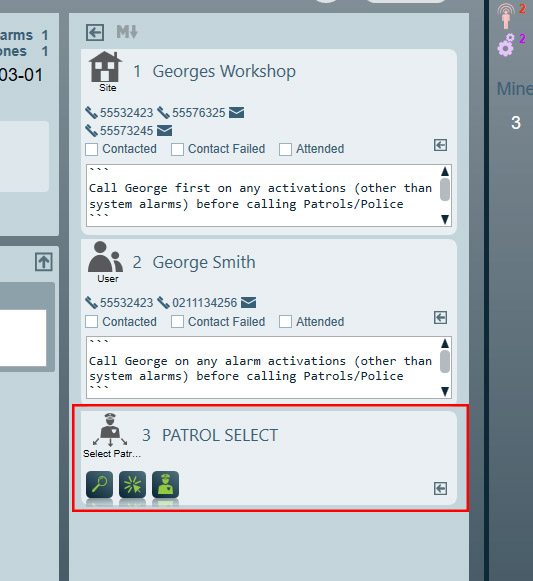
Operators will see those Patrols that are in the sites patrol grouping. Operators can see which patrols are on shift, which patrols are on a job already and which are in the closest proximity by using the map.
This tutorial will show an example of sending a dispatch job request to a Web Dispatch Company.
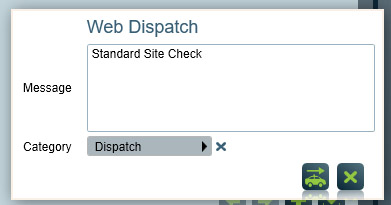
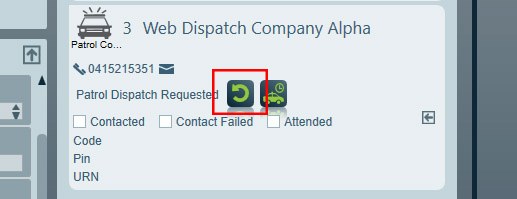
Once an operator chooses a Patrol to dispatch the job to they will have the same box appear as if they selected the patrol straight from the response list or using the Select Patrol mappinging feature.

The operator must select a Category or type of Job and optionally they may enter some additional notes for the Patrol. The instructions of the site and details of the alarm will already be sent to the Patrol so only additional notes need to be entered in there are any.
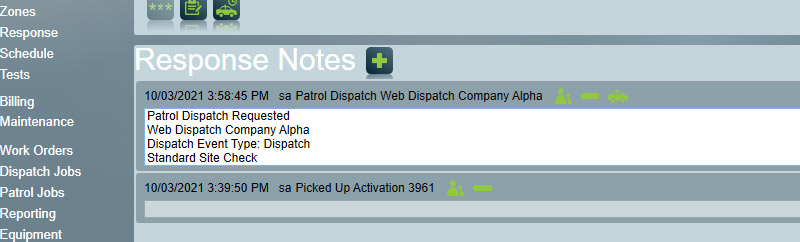
Once the job is dispatched a response note will automatically generate.
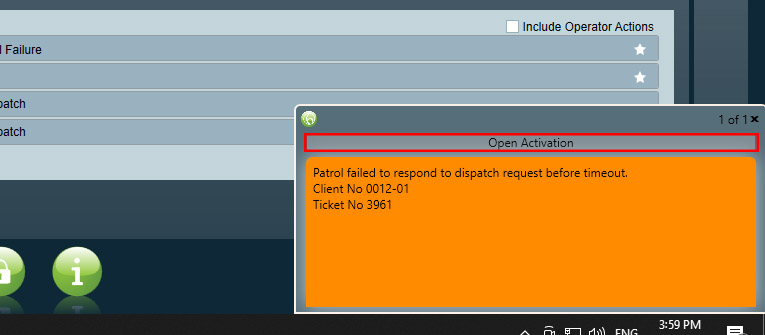
If the Job is not accepted within a preset time or the Patrol releases it back to the control room a pop up note will appear over any other window making sure the operator can quickly click the activation link and resend the dispatch job request.
The operator can see stand down a patrol if the wish with the stand down button.
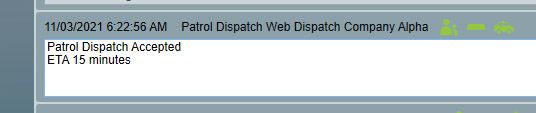
A job that is accepted will have details logged into the response notes.
Once a job is accepted by a Patrol the activation can be put to sleep or on hold.
Viewing the Dispatch Job Details
The operator can see update notes, images and GPS locations and access them quickly through the response window.
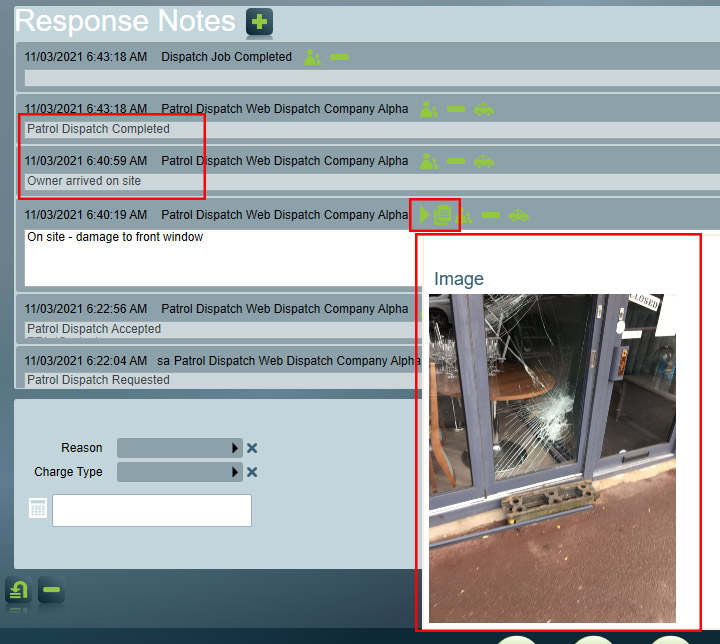
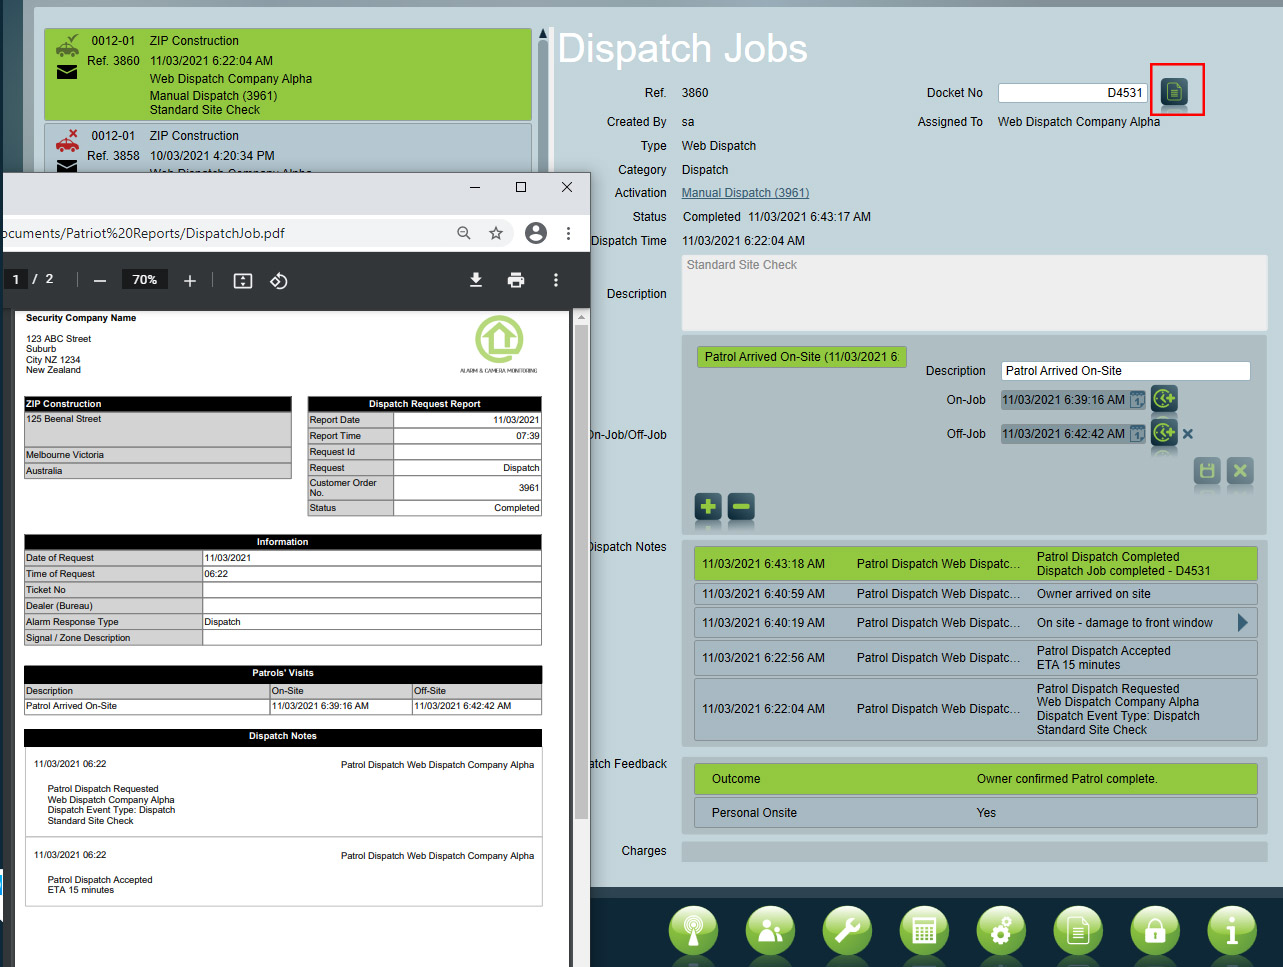
Full dispatch Jobs details can be viewed by clicking the dispatch job window button shown in the image below. Details include patrol notes, on site and off site times, quick link to view images and a quick report button. Charges may be automatically added or can be updated by the operator if needed.

Patrol job dispatch requests associated with this activation that failed, were stood down or not acknowledged are also listed in the dispatch job window for review.
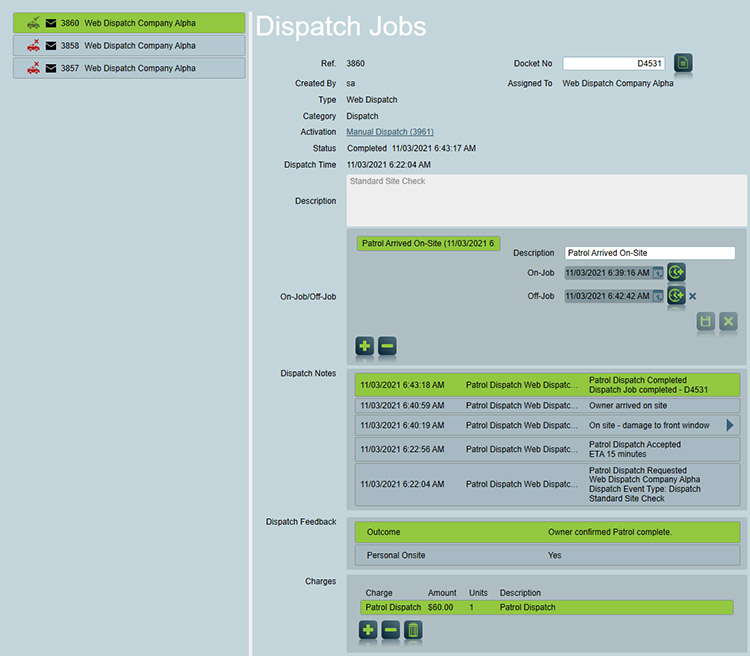
Depending on the operator security group and the type of dispatch some information in the dispatch window may be able to be updated.
Completing the Activation and reviewing Jobs
When a Patrol completes the Dispatch Job through the Web Dispatch or Plink Patrol APP the operator will be notified with a pop up box
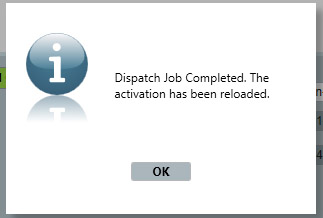
The operator can then follow through your control room processes and complete the activation.
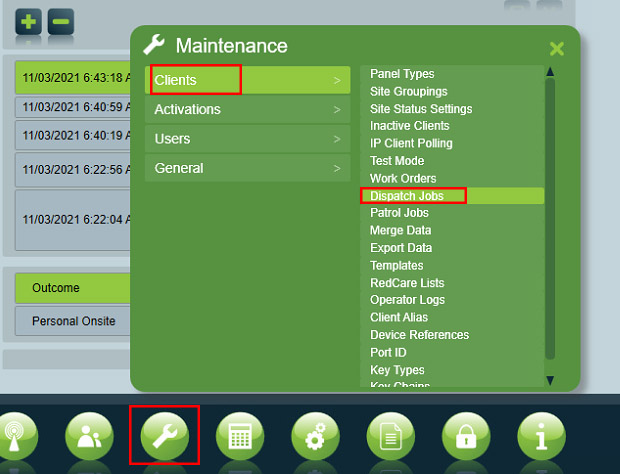
Once the Dispatch Job is completed then it can be reviewed on demand through the accounts Dispatch Job tab or the global Dispatch Job window
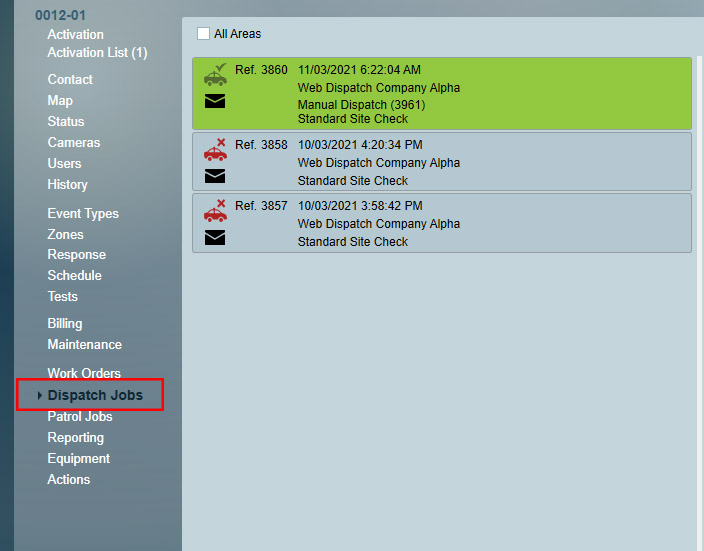
You can quickly generate reports from a Dispatch Job window, view images, view Patrol GPS locations and update details such as billing charges.
Reports can be sent out automatically after a dispatch job has been completed.