JSON API Setup Tutorial
Overview
This guide explains how to setup a User to allow a control room to receive signals through the Patriot JSON API.
The second half of the guide explains how to test the JSON API
Setting up a JSON API Security Group
Creating the Account including receiving URL and GPS tracking setup
Testing the JSON API with Swagger UI
Prerequisites
Patriot ICA should be setup already.
Setting up a JSON API Security Group
To begin we need to setup a Security Group that allows the logging of signals. In this example we will create a new JSON API security group.
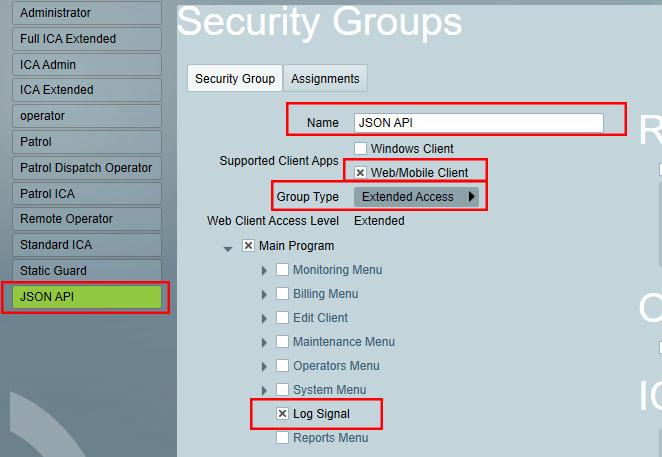
Make sure that "Log Signal" option is checked in the JSON API Security Group.
Creating the User
Each third party service or group of devices will need a separate username and password to use with the JSON API.
In this example we will create a JSON API user
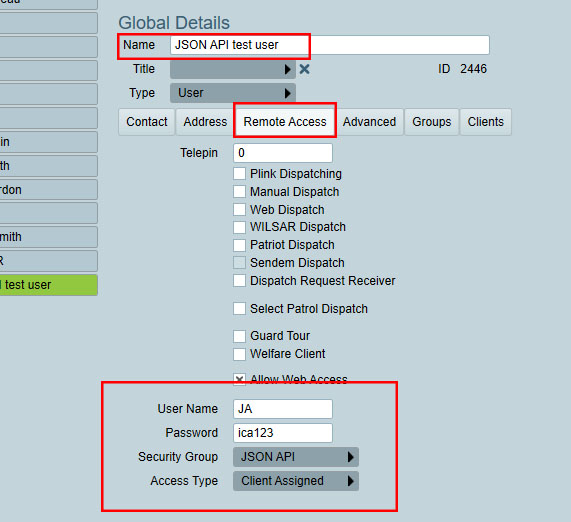
The User must have ICA access with the Security Group we created in step one.
URL & GPS tracking
For a User to be able to log a signal to an account they must be assigned to that account.
In the image below the JSON API user has been assigned to our account that we want signals to be logged to.

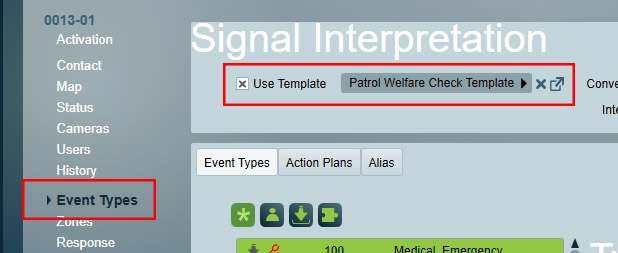
The account will also need a Event Type template to know more about the incoming signals.
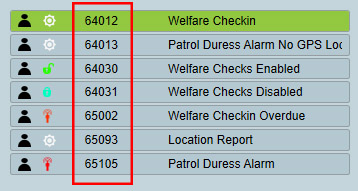
In this example we will use the Patriot Welfare Check Template. This template, or any other template, can be provided to the third party that is integrating with the Patriot JSON API so they have a list of typeNo and their descriptions or a brand new template can be created.
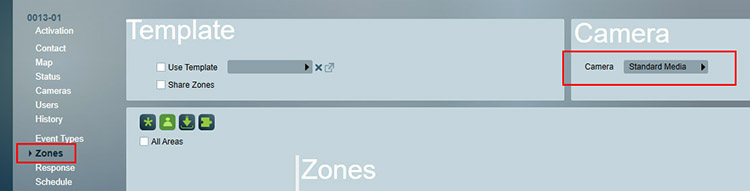
If the account will receive media such as URL then in the Zones tab of the account we need to select the "Standard Media" Camera Type. The Standard Media Module is required on the Patriot License.
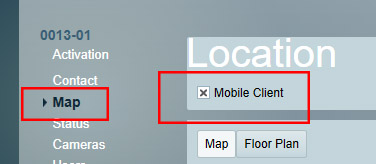
If the account will be a mobile device and receive GPS locations then in the Maps we need to select "Mobile" as checked.
Testing with Swagger UI
With the User and account setup we can create a test signal through swagger UI.
Your swagger URL will be your standard ICA URL + "/swagger/index.html"
e.g https://demoica.patriotsystems.com/swagger/index.html
On the swagger page you can click the button on the right hand side and log in
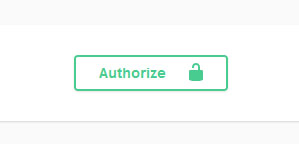
Login with the JSON API user login details we created.

Once logged in the login button will show a padlock.

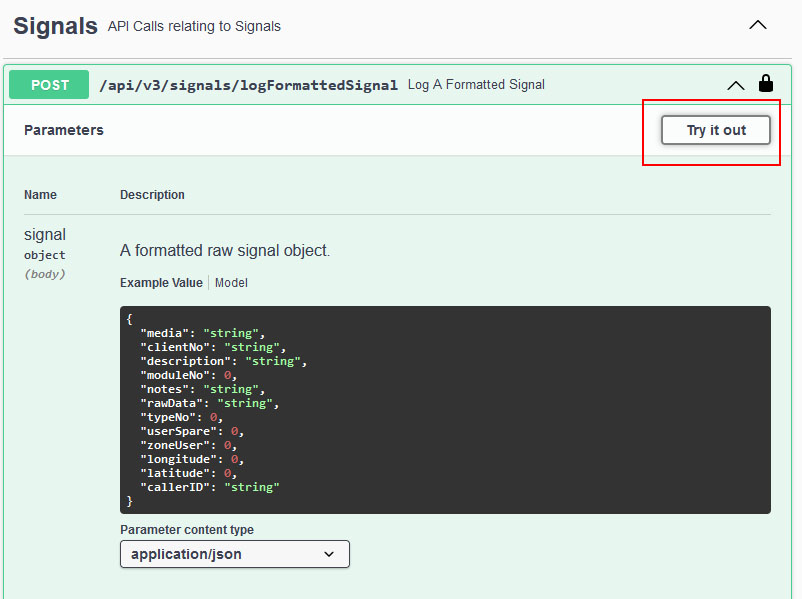
There are lots of different commands you can use to log or call information. In this example we will log a simple signal.
If you click the "Try It Out" button to the right then the data in the left box automatically populates.
"media": A URL can be sent in with the signal and presented to operators to click on. Must start with "url:"
"clientNo": Must match the Client Number in Patriot in our example we will use 0013BASE01 based on the account details shown in the image above.
"description": Additional text to be sent through to the station and seen by the operator.
"moduleNo": Module numbers are used to define events with an additional value. E.g a moduleNo 140 and typeNo 140 can be treated by Patriot one way. A module No 100 and typeNo 140 signal can be treated differently. Module numbers are generally used if type No by themselves are not able to find tune the different events.
"notes": Additional notes that can be logged with signal data. Not seen by operators.
"rawData": Additional information operators can see in expanded signal view.
**"typeNo":**What type of signal is it e.g a "1" could be a motion detection and a "2" could mean gun detection. Our example uses the standard Patriot Welfare Check event types defined in the template shown in the image above.
"userSpare": Only used in specific signal setup where a signal has both user and zone details. In most cases any User numbers should be sent through in the zoneUser field.
"zoneUser": This can be used to define the zone or user the signal is relevant to. E.g it can be used to match to a specific camera from a DVR. zoneUser 1 = camera 1 at the site. zoneUser 2 = camera 2 at the site etc. Descriptions are added into Patriot at the client level for these so the operator may see "Motion Detection - Back Yard Camera" which would be a combination of the typeNo and zoneUser details in Patriot
"longitude": Longitude of the Users GPS location
"latitude": Latitude of the Users GPS location
"callerID": The phone number of the device sending in the signals.
When the details are entered in you can click the "Execute" button to send the signal

A success message should then be logged underneath.
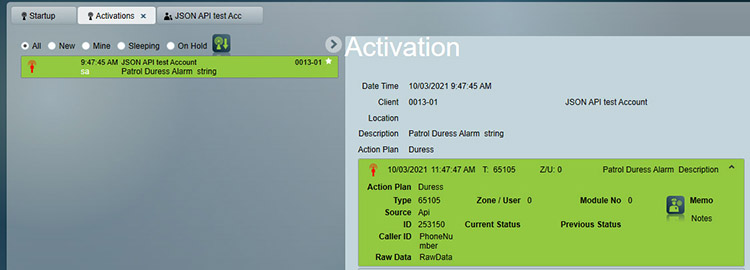
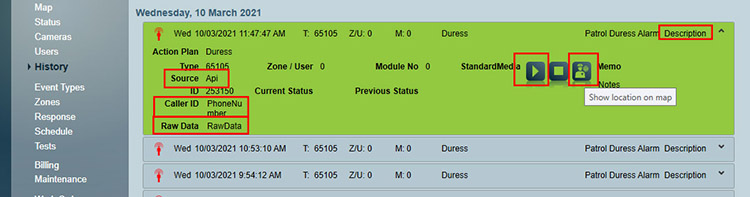
The signal is then received in Patriot and shows in the Activation screen.
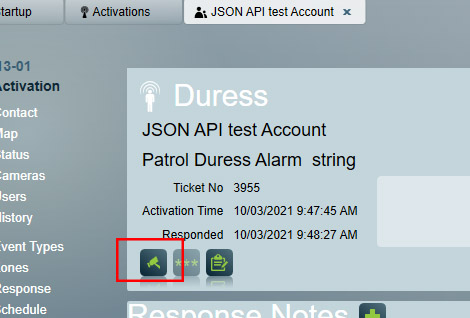
Once the activation is clicked on the operator can access the URLS.
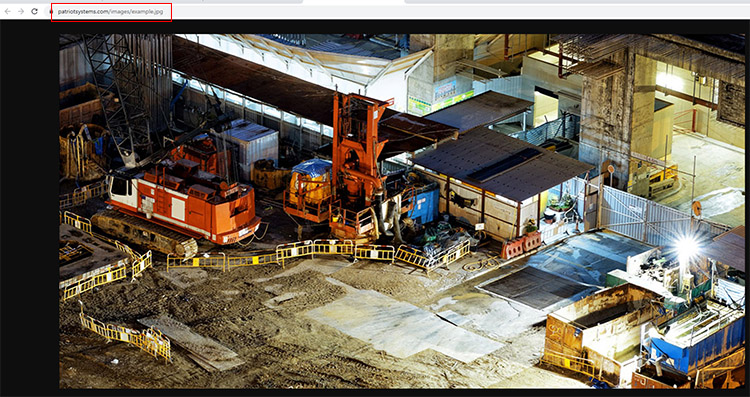
The URL is opened in the workstations default browser.
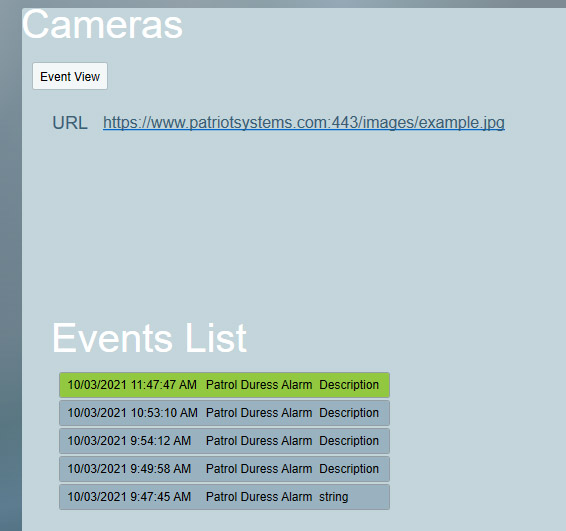
To view the GPS locations you can click the Map Tab of the account.
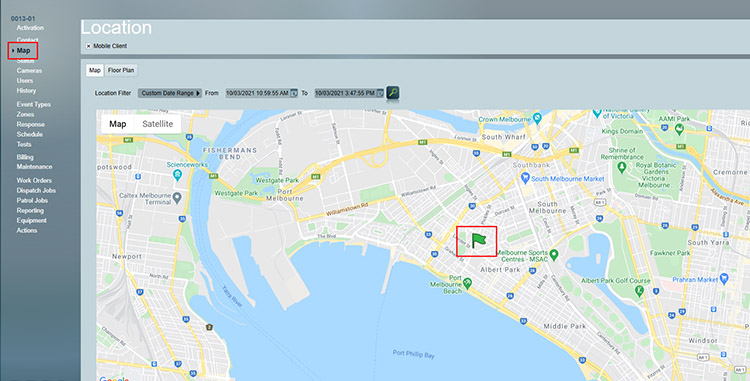
URLs and GPS maps are also quickly accessible in signal history with an activation or an accounts history as well as other windows in Patriot.
Notes
- The clientID must be include the area and port number. e.g 1234BASE01
- The media field allows for URLs to be sent in with signals and have these presented to operators as described above. The media field must start with "url:" e.g "url:https://www.patriotsystems.com/event23133.jpg"
Developer Notes
- When not using the swagger and want to manually make calls (e.g. via some other tool), you need to request a token
- When making a post request for the authentication token the grant_type is always "password"
- Then in the next calls you add in the Authorization header, with the value Bearer
E.g. Authorization: Bearer abcd12345 - Auth2 authentication is required to be used.
- Patriot sends the 200 response after the signal is logged in the database so the 200 response can be accepted as an acknowledgement of the signal.
- The lifetime of the token is configure at the control room settings.