Plink - Dispatch Patrol Jobs Tutorial
Overview
This guide provide Patrols with instructions on how to use the Plink Patrol App to receive and respond to job dispatch requests. Instructions include how to accept a job, update a job, add notes and photos and complete the job.
Jobs Screen
The first step a Patrol should complete is to update their status to be available so they can receive jobs. Patrols should also turn on welfare checking if required.
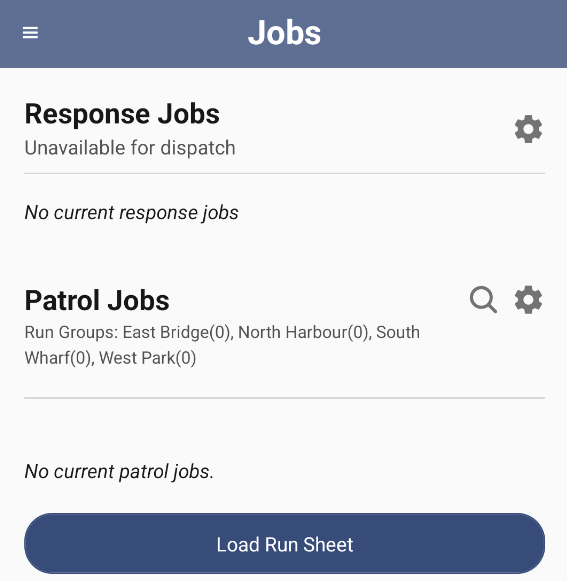
The Jobs Screen in Patriot is accessed by clicking the Jobs button at the bottom of the app or from the main menu.

This screen will show the patrol their availability status and current jobs in progress. This includes the Dispatch request Jobs and the Digital Runsheet scheduled check jobs.
Below is an example of how the screen would look on first log in.
Here is a patrol screen after accepting jobs and loading a Patrol Job run.

Switching the status to being available will show the Plink Patrol as being available at the Patriot Dispatch Center

Once the Patrol is marked as available then the status is updated along with the Digital Runsheet groups the Patrol has loaded.

Receiving & Accepting Job Requests
Jobs sent by operators to your Patrol will create notifications on the Patrol Phone.
Clicking the notification will take the Patrol to the Plink Job window.
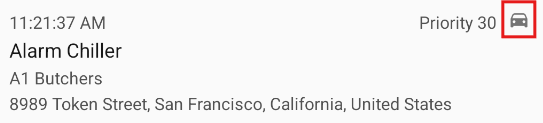
If there are more than 1 dispatch job request then these are shown in a list with icons identifying which have been accepted and which are pending.
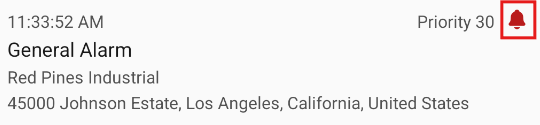
The Patrol can either accept the job or release the job if they are busy or on another callout.
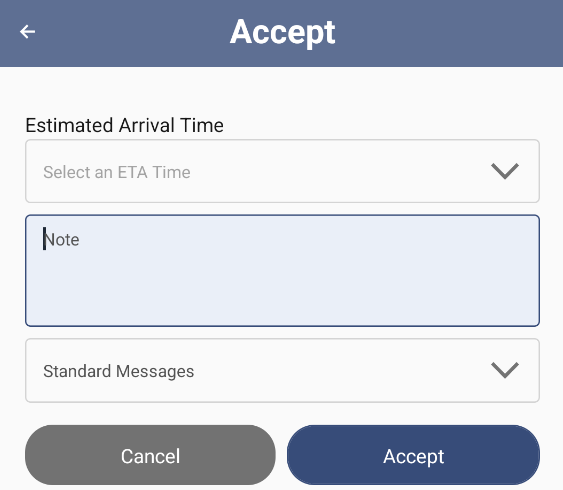
Patrols may be required to select an ETA for the estimated time to get to the client site. The ETA will be shown to the operator at the dispatch center or station so they know the expected 'On Site' time and can advise customers if needed. This can be turned on and off in Patriot settings in required.
Once the Job has been accepted the status icon will be updated in the Jobs Screen of the App and the Dispatch Center will be instantly notified.
Completing the Job
Once the Job has been accepted the Patrol can view the Job instructions and details of the client / site such as site instructions, key numbers, contact details and notes.
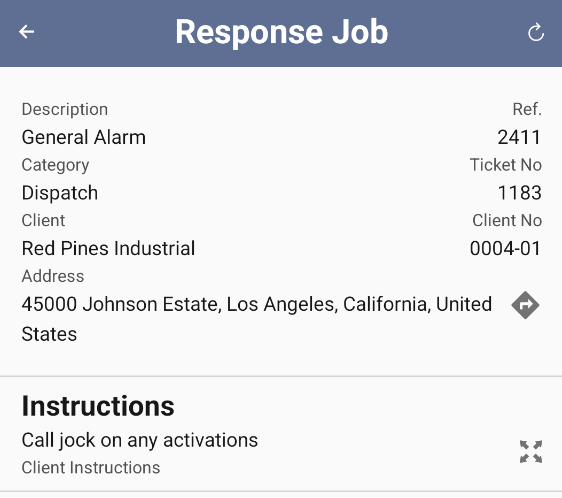
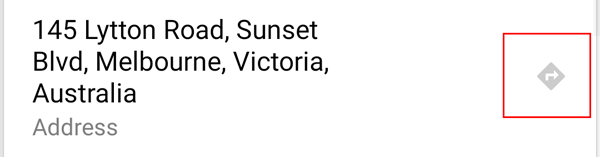
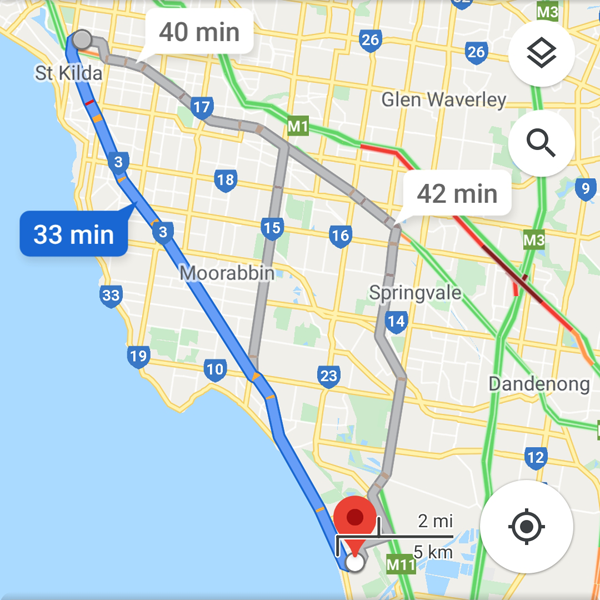
Patrols can click the map button to be shown the quickest route to the site on the phones mapping system.
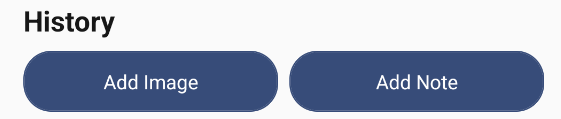
Once a job has been accepted Patrols can add notes against the job history, while en route or on-site, which will show up for operators at the dispatch center and be logged against the job for reporting and auditing purposes.
Patrols can release the Job if called away before they reach the site so the operator can reassign the job.
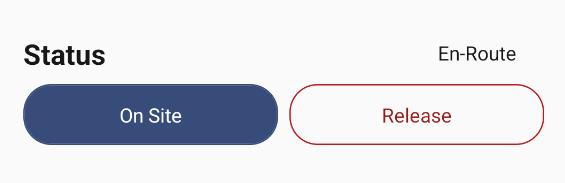
When the Patrol is on-site they should click the 'On Site' button which will log details (including GPS location if a lock can be obtained within 30 seconds) back to the dispatch center and notify the operator that the Patrol has arrived at the site.
When the job has been finished the Patrol can complete the job by clicking the 'Offsite' button which will log details (including GPS location if a lock can be obtained within 30 seconds) back to the dispatch center and notify the operator that the Patrol has completed the job.

Site Images can be presented to patrols for dispatch jobs. See here for details.
Adding Notes & Photos
Patrols can add notes to a job which can be viewed by operators and included in reports. Notes can be entered manually, using standard messages and follow up actions can be selected if required. Follow up Actions can raise the event to an Operator so they can follow up (i.e. call a Glazier for a broken window etc.).
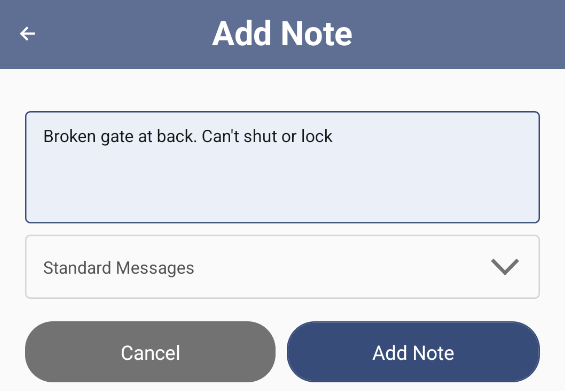
Patrols can add also add photos to the job history which can be viewed by operators and included in reports. Photos can be taken from the camera or added from previously taken photos from the phone gallery
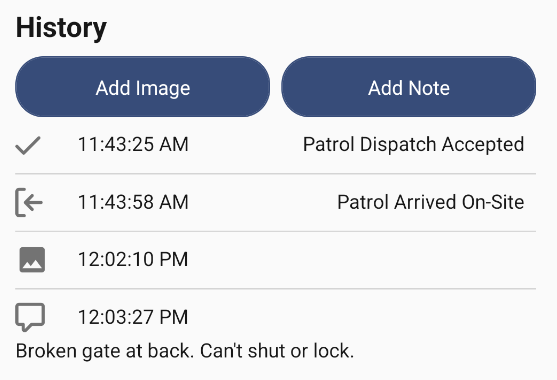
Once Notes and Photos are taken and added into the Job they are displayed in the Job history.
Writing NFC Tags
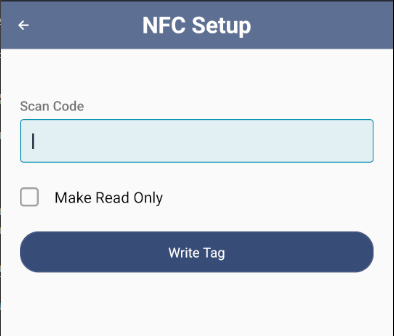
Supervisors can have the ability to write NFC tags from the Plink APP
This is used only when writing new NFC tag codes. When scanning a code you just need to have the Plink app open on your phone and to place the phone near the NFC tag.
More Information
For more information on how to use the Welfare Checking and Duress functions in Plink click the link below
For more information on how to load a Digital Runsheet and complete Scheduled Site Check Jobs click the link below